HTC T-Mobile MyTouch 3G Slide Disassembly Repair Guide
June 4, 2018 | 0 Comments
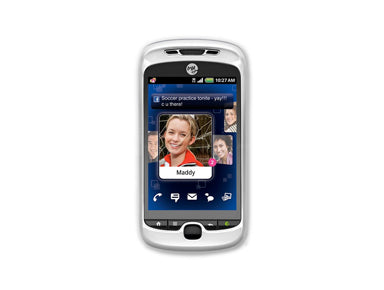
This disassembly guide has been put together by the Repairs Universe team and shows the process required to take apart your MyTouch 3G slide safely in order to replace any worn-out or broken parts. With this guide you should be able to replace a broken glass touch screen, dead LCD, or any other damaged components to repair your phone.
This guide is aimed at helping you replace the following MyTouch 3G Slide repair parts:
- HTC MyTouch 3G Slide Touch Screen Digitizer Glass Replacement
- HTC MyTouch 3G Slide LCD Screen Replacement
Tools:
- T5 Torx Screwdriver
- Small Phillips Screwdriver
- Safe Open Pry Tool
- Heat Gun / Hairdryer (optional)
- Flat tipped tweezers (optional)
HTC MyTouch 3G Slide Screen Repair Video Guide:
The HTC MyTouch 3G Slide is now disassembled and you can replace the damaged part(s) with new ones. Reverse the instructions above to reassemble your phone.
Applying Adhesive to the Touch Screen Digitizer:
MyTouch 3G Slide Written Screen Repair Guide:
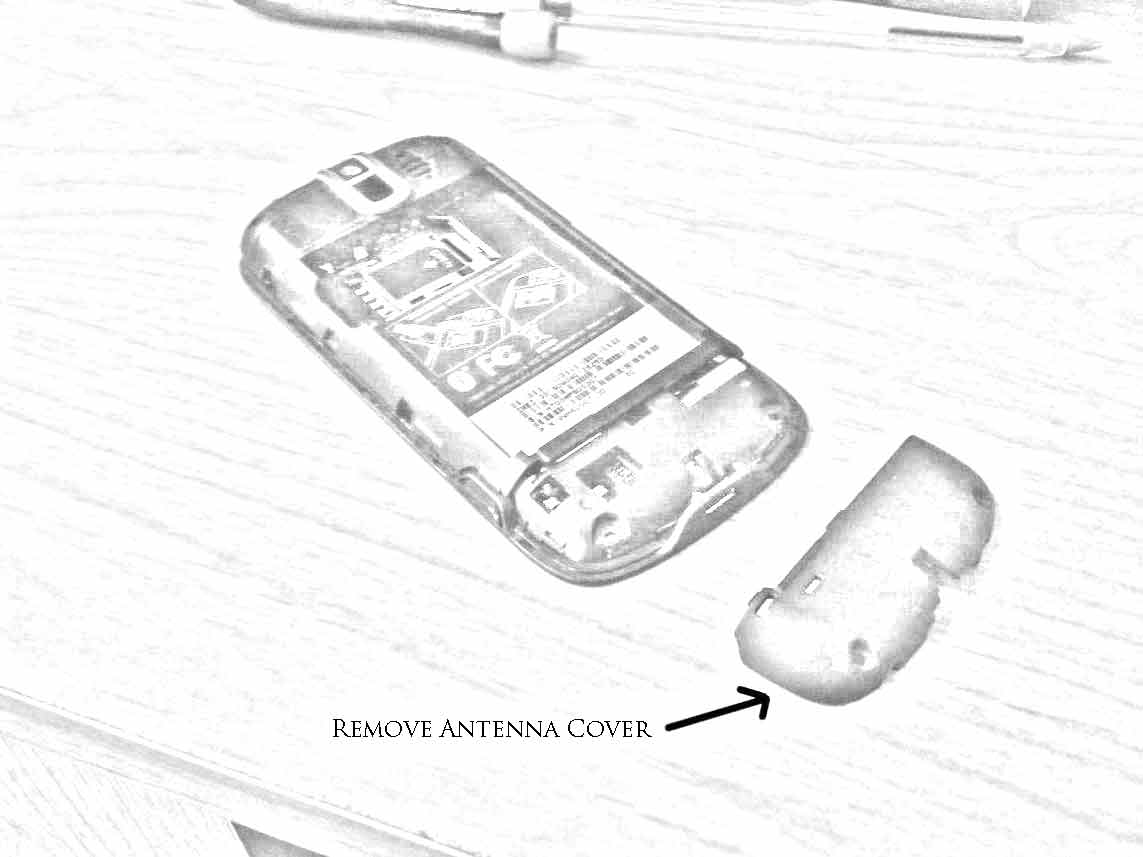
- The first step to disassembling the MyTouch 3G slide is to remove the antenna cover. This can easily be achieved by popping it off to the side as shown in the illustration above.
- Using a small Phillips screwdriver you then proceed with removing the six screws that hold the housing in place. Two screws each on both sides (top and bottom) of the phone and two near the battery as shown in the illustration. Once these screws are removed you should be able to remove the battery and the SIM card fairly easily.
- The next step is to take the housing / casing off so that you can get to the board. You have already achieved 50% of this by taking off the six screws so you just need to use a safe pry tool to pry the top off slightly so that it gets unhinged. Pry open one end and then slowly lift the entire housing off.
- At this point there are two more hidden screws you will have to deal with. These screws are easily revealed by pulling the two connectors on both sides of the phone. These two screws hold the board in place.
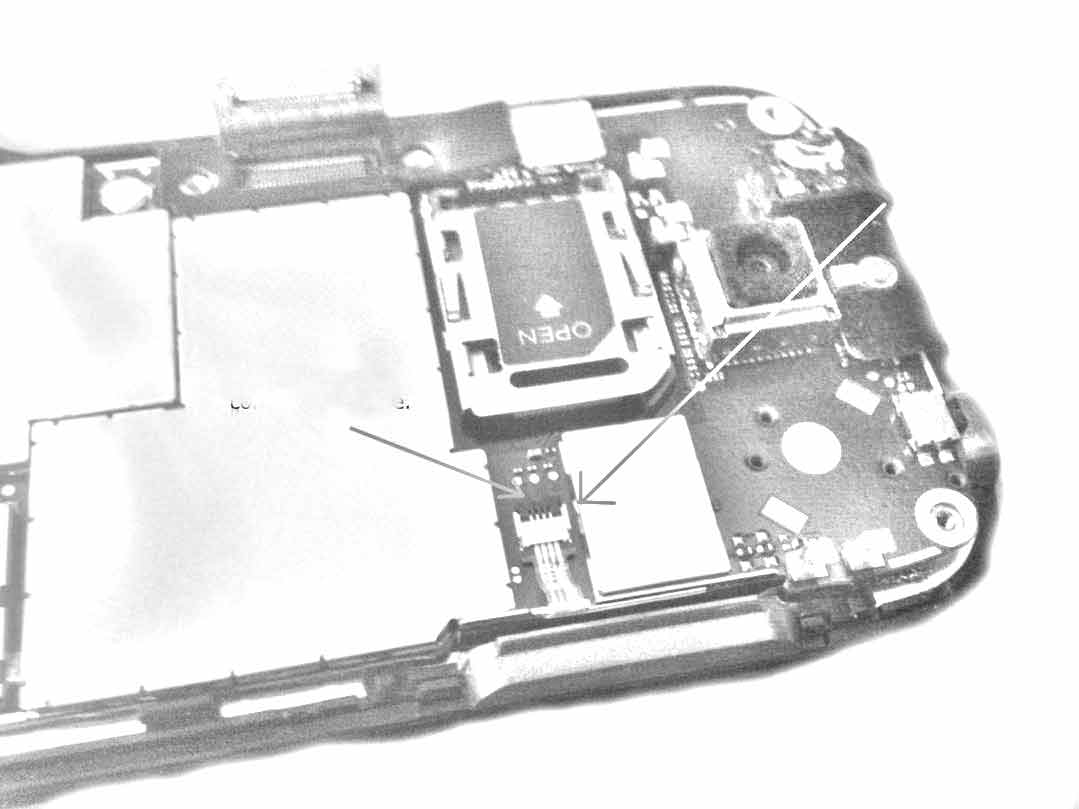
- Now in order to safely remove the board you will have to carefully remove the 4 connector ribbon attached to the board as shown in the illustration. In order to release the ribbon you will have to left the black holder upwards prior to pulling the ribbon out, this can easily be achieved by using the safe pry tool that we include with your replacement part.
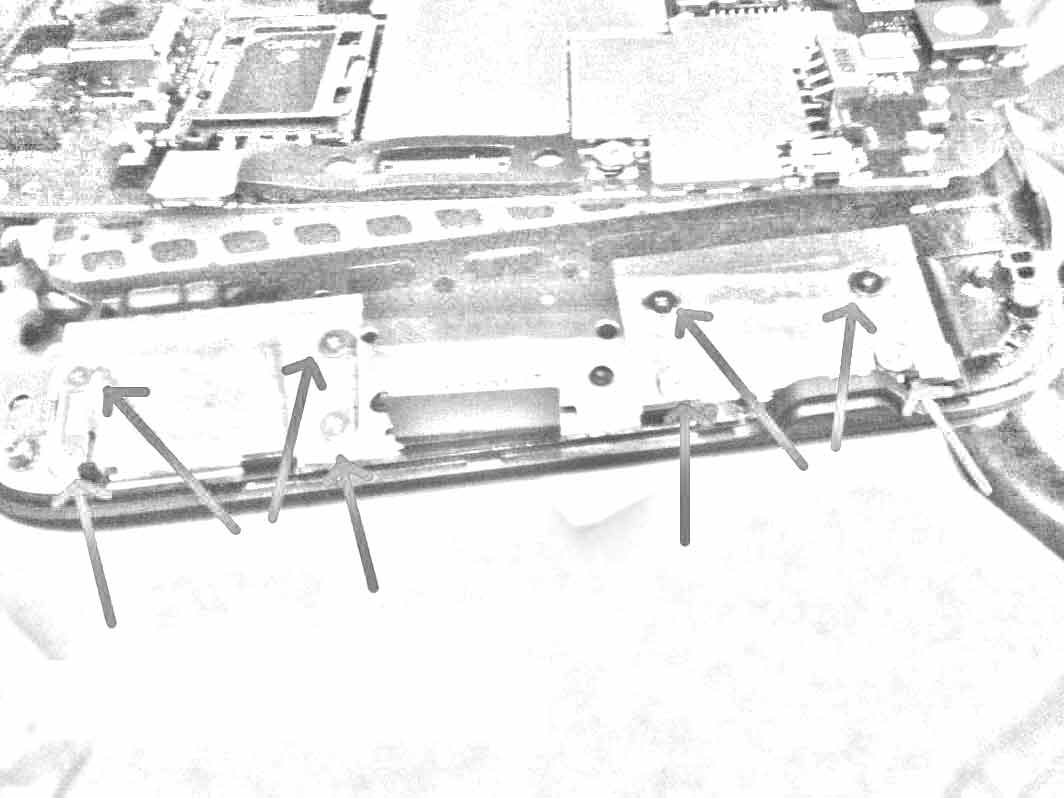
- There are eight screws used to hold the housing to the slide mechanism. These screws are easily removed using a Philips screwdriver. However once they are removed the sliver tape will need to be pulled off before the slide can be completely disassembled.
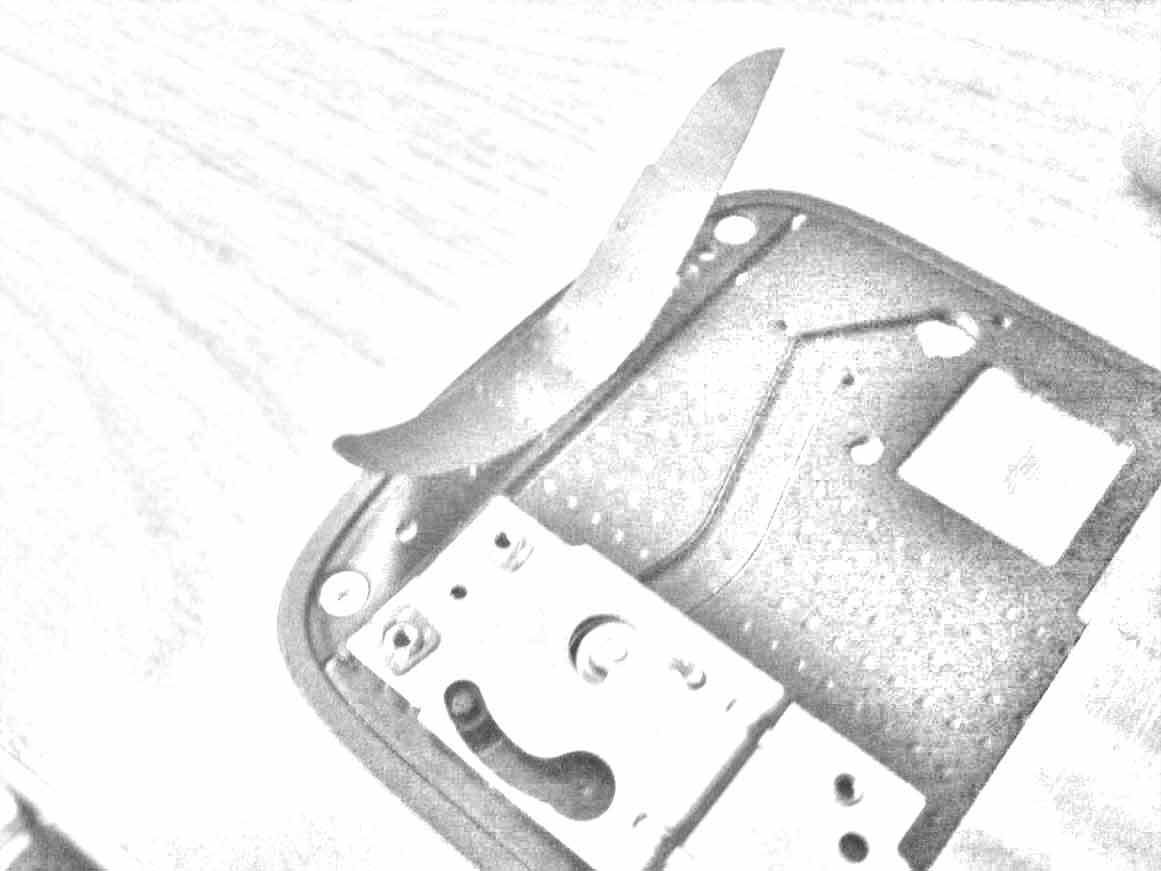
- In order to remove the LCD screen housing the four screws holding the housing in place will need to be removed. The screws can easily be revealed by removing the tape like covering slightly by lifting it off on the sides as shown in the illustration. There should be two screws on the top and two at the bottom.
- To remove the glass touch screen digitizer from the frame use a pry tool and gently pry off.
In order to reassemble the phone just reverse the instructions i.e. go from the bottom to the top.
Replaceing HTC MyTouch 3G Slide Speakers
This video repair guide, brought to you by RepairsUniverse will walk you through repairing loud speakers and earpiece speakers on your HTC MyTouch 3G Slide. Replace a faulty or damaged ear buzzer speaker or loud ringing speaker using this step by step walk-through. Get clean crisp audio from your MyTouch 3G Slide!
This guide will help you to install the following HTC MyTouch 3G Slide parts:
Tools Required:
Optional Tools:
- Small Flathead Screwdriver
- Adhesive Strips - May be required for certain speakers.
HTC MyTouch 3G Slide Earpiece / Buzzer Replacement Guide:
Note: Some speakers may need to be raised, using adhesive, to give full contact with the connectors. You may attempt to re-use the previous adhesive from an old speaker, but fresh adhesive is recommended.
HTC MyTouch 3G Slide Loud / Ringer Replacement Guide:
Note: Some speakers may need to be raised, using adhesive, to give full contact with the connectors. You may attempt to re-use the previous adhesive from an old speaker, but fresh adhesive is recommended.
Notice:
Repairs Universe's guides are for informational purposes only. Please click here for details.
Learn about restrictions on reproduction and re-use of Repairs Universe's repair/take-apart/installation guides, and about creating hyperlinks to our guides.
