iPod Touch 2nd Gen Screen Repair Replacement Guide (Video)
June 4, 2018 | 0 Comments

View the downloadable version of our how to fix your iPod Touch 2G screen guide
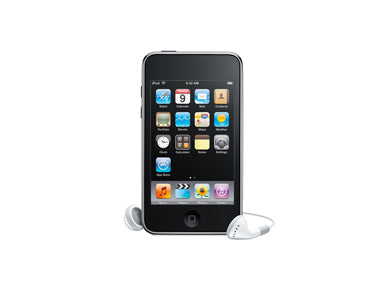
This video shows the procedure to replace the glass touch screen digitizer on the Apple iPod Touch (iTouch) 2nd Generation. The RepairsUniverse team hopes you find this take apart guide useful and that it helps you complete your repair installation quickly and safely.
This guide will help you to install the following iPod Touch 2nd Generation part(s):
- iPod Touch 2nd Generation Touch Screen Glass Digitizer
- iPod Touch 2nd Generation Touch Screen Glass Digitizer Assembly
- Other Parts
Tools Required:
iPod Touch 2nd Generation Touch Screen Glass Digitizer Repair Guide:
Reverse the instructions above to reassemble your iPod.
Apple iPod Touch 2nd Generation Touch Screen Digitizer Replacement Summary:
Using this summary in correlation with the video will insure proper instructions are given and a safe repair is made.
- Remove the screen from the iPod touch. Use a safe pry tool and run it between the backing of the phone and the glass. Run as along all edges to release the clips. Gently pull away the digitizer from the rest of the iPod (be careful as it still attached by a small ribbon cable).
- Use a safe pry tool to gently pry off to release the ribbon cable. Once done you separate the digitizer from the rest of the iPod.
- Separate the digitizer from the mid section and use a safe pry tool to pry part the digitizer and the mid section. Place the pry tool from the mid section and the digitizer and start to gently pry apart.
- If you?re having trouble separating you may use a hot hair dryer or heat gun to warm the glue to make this process easier. If you are replacing a cracked digitizer be careful of the small sharp pieces of glass. Continue to gently pry this part to part until separated.
- You need to remove the excess glue before you can install the new digitizer.
- Once you removed all the glue from the mid section put the home button back into place. You can now attach the new digitizer.
Notice:
Repairs Universe's guides are for informational purposes only. Please click here for details.
Learn about restrictions on reproduction and re-use of Repairs Universe's repair/take-apart/installation guides, and about creating hyperlinks to our guides.

