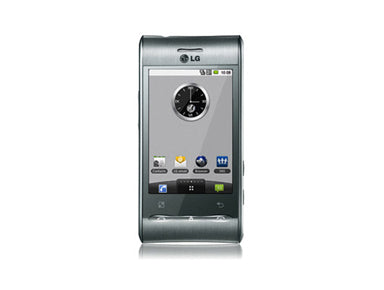
LG Optimus GT540 Take Apart Repair Guide
June 4, 2018 | 0 Comments

This written guide for the LG Optimus GT540 will walk you through fully disassembling and replacing nearly all internal components. This guide has been compiled by the RepairsUniverse team and can be used to safely and quickly replace damaged or faulty parts, such as a cracked glass touch screen digitizer, damaged LCD display, and even faulty speakers.
This guide will help you to install the following LG Optimus part(s):
Tools Required:
LG Optimus GT540 Screen Repair Take Apart Guide:
- The first step will be to remove the battery. To do this, remove the long cover located on the side of the phone. With the cover removed, you can then slide the battery out.
- With all of the housing covers removed, remove the eight (8) screws using the small Phillips screwdriver as shown in Figure 1.

Figure 1
- Using the safe pry tool run along the sides of the phone to release the clips.
- Remove the upper white housing (above the camera) using a safe open pry tool as shown in green on Figure 2.
- Release the flex cable from the motherboard as shown in Figure 2. This is a simple pop connecter, disconnect it using a pry tool.
- There will be two connection on the lower side of the motherboard. These will both be pop connectors as well.

Figure 2
- With all connections released, we can now remove the motherboard from the housing. This may require you to apply pressure on sides of the device to allow for more room for the board to fit out of.
- The LCD screen can now be lifted from the device using a safe open pry tool and replaced
Simply replace the damaged parts with the new ones and reverse the order to put your phone back together again.
Notice:
Repairs Universe's guides are for informational purposes only. Please click here for details.
Learn about restrictions on reproduction and re-use of Repairs Universe's repair/take-apart/installation guides, and about creating hyperlinks to our guides.

